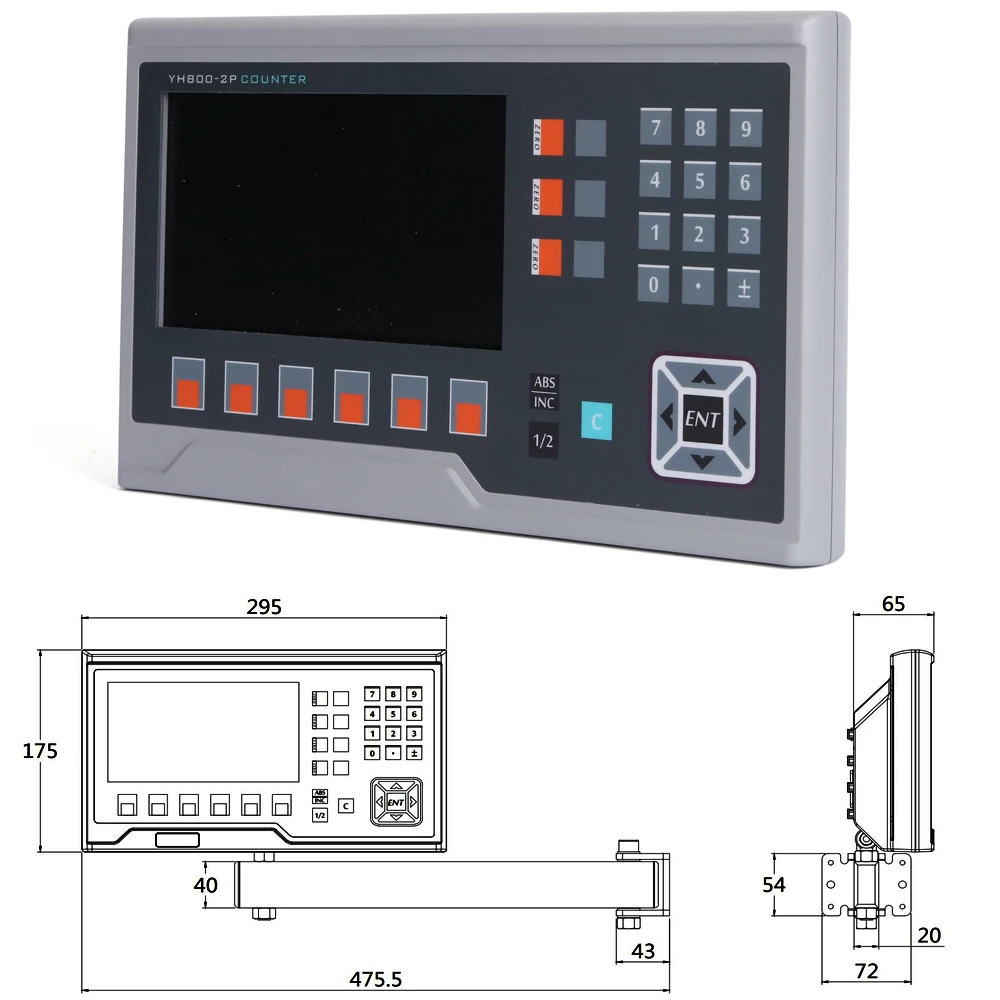
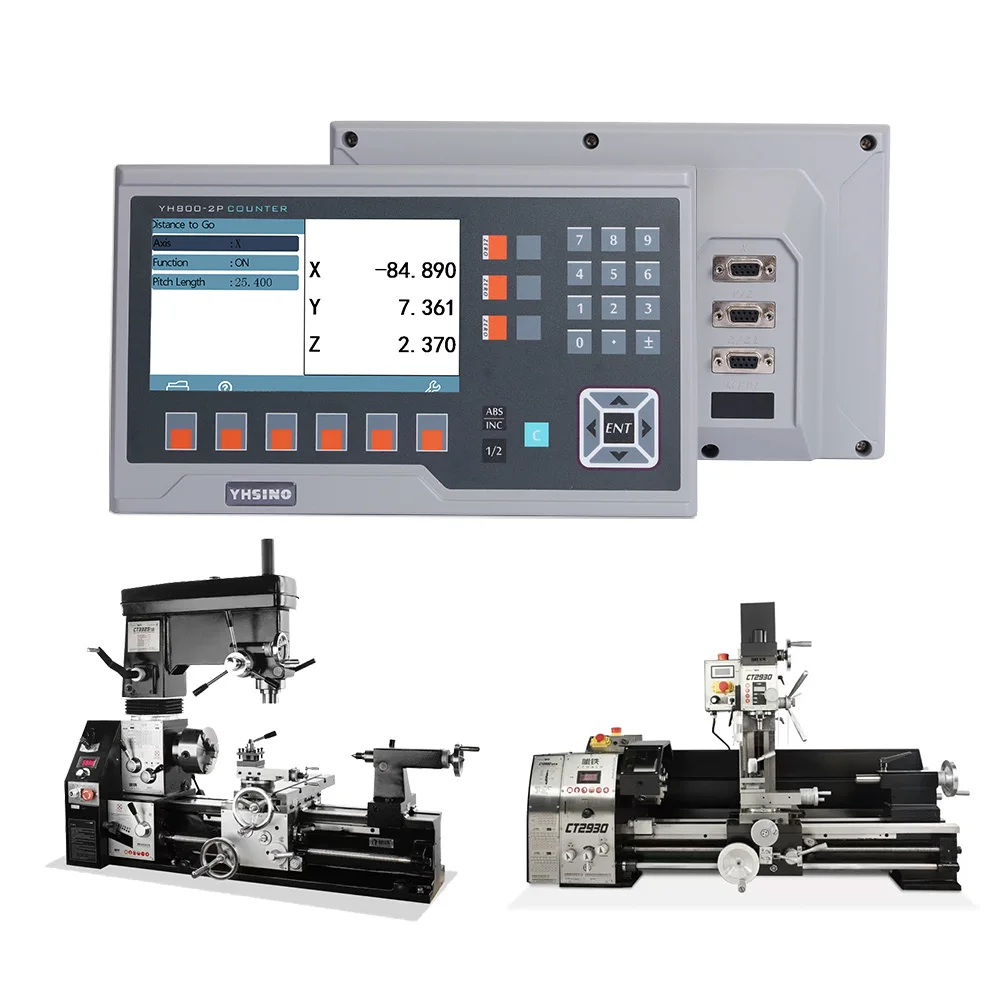
3D Touch Probe RPM 14 Languages LCD DRO YH800-2P YH800-3P YH800-4P Set Feature:
1. English, German, Portuguese, Italian, Spanish, Hungarian, Polish, Romanian, Greek, Finnish, Turkish, Thai, Russian, Ukrainian
2. BIG LCD DRO
3. Send you from Overseas warehouse, send you fast
4. 3 years warranty
3D Touch Probe RPM 14 Languages LCD DRO YH800-2P YH800-3P YH800-4P Set Technical Parameter:
1.Voltage:AC80-240V/50-60HZ
2.Power Dissipation:15W
3.Working Temperature:-10℃ to 60℃
4.Storage Temperature:-20℃ to 70℃
5.Keypad:Mechanical
6.Coordinates:1Axis,2 Axis,3 Axis,4Axis,5 Axis
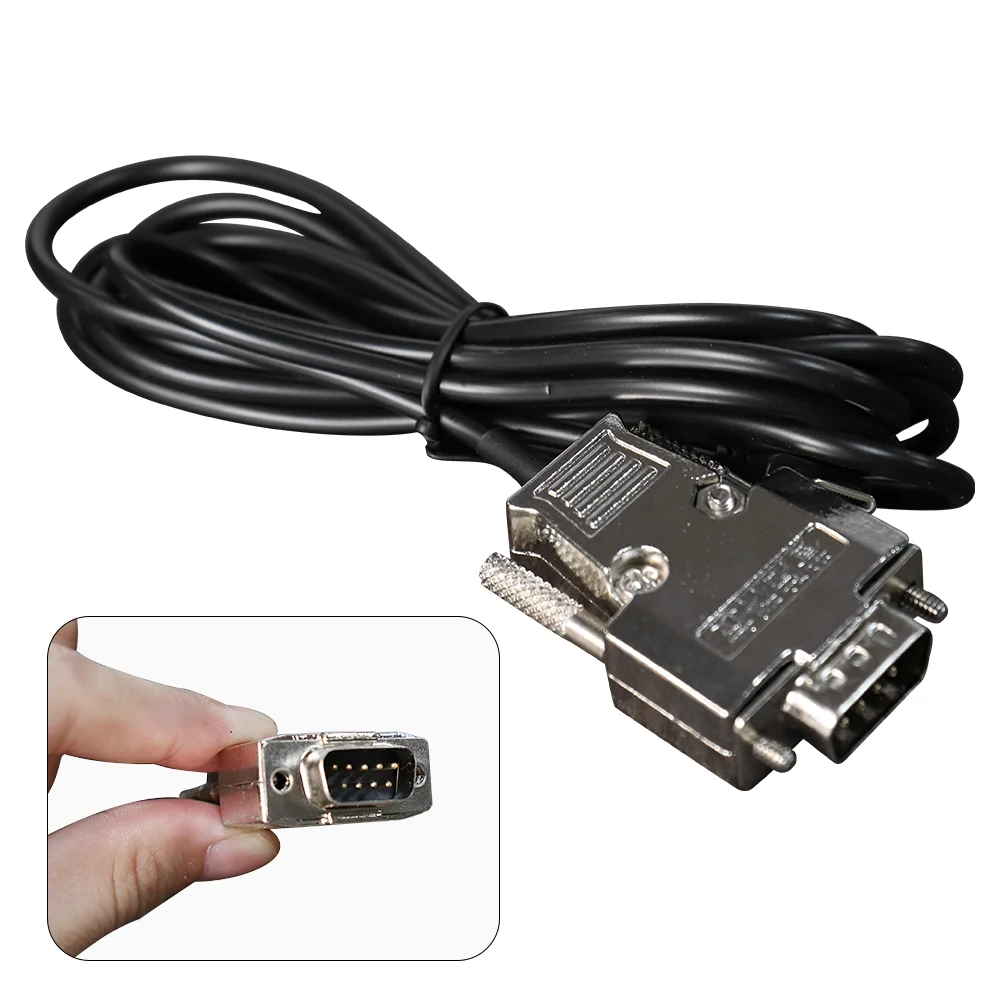
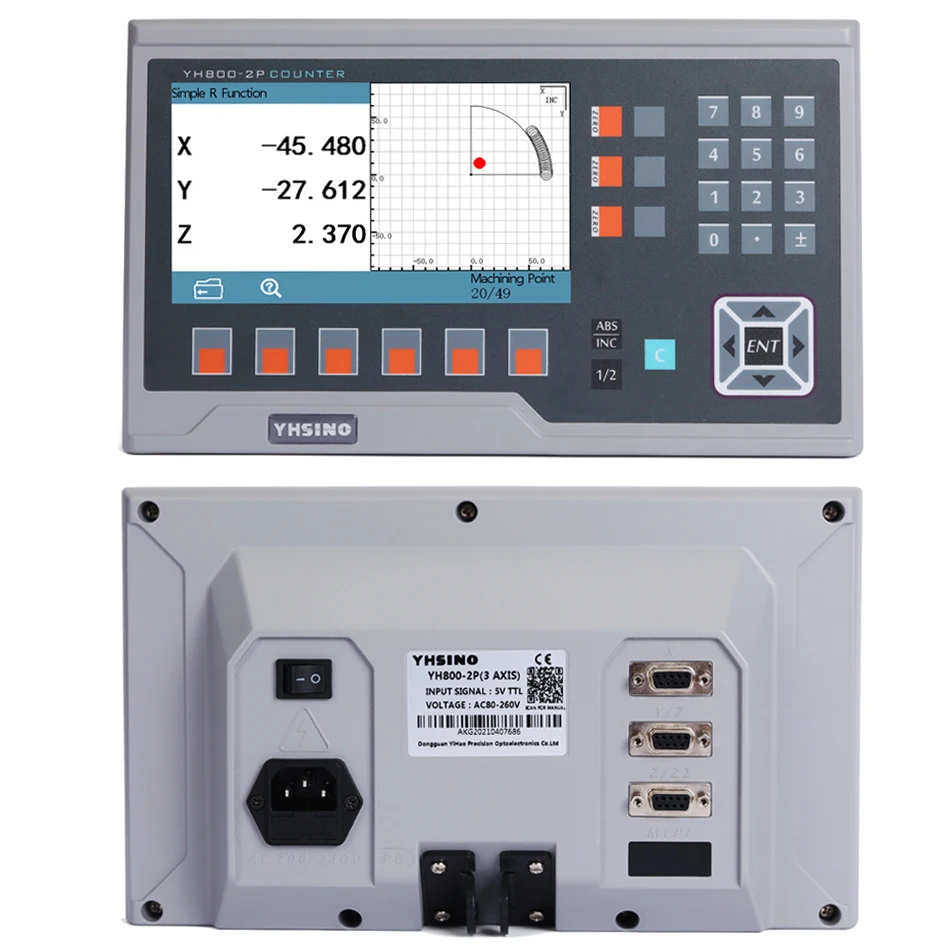
7.Input Signal:5V TTL DB9
8.Input Frequency:≤32MHZ
9.Resolution:0.1μm, 0.2μm, 0.5μm, 1μm, 2μm, 2.5μm, 5μm,10μm, 20μm, 25μm, 50μm, 100μm
10.Weight:1.9KG
3D Touch Probe RPM 14 Languages LCD DRO YH800-2P YH800-3P YH800-4P Set Features:
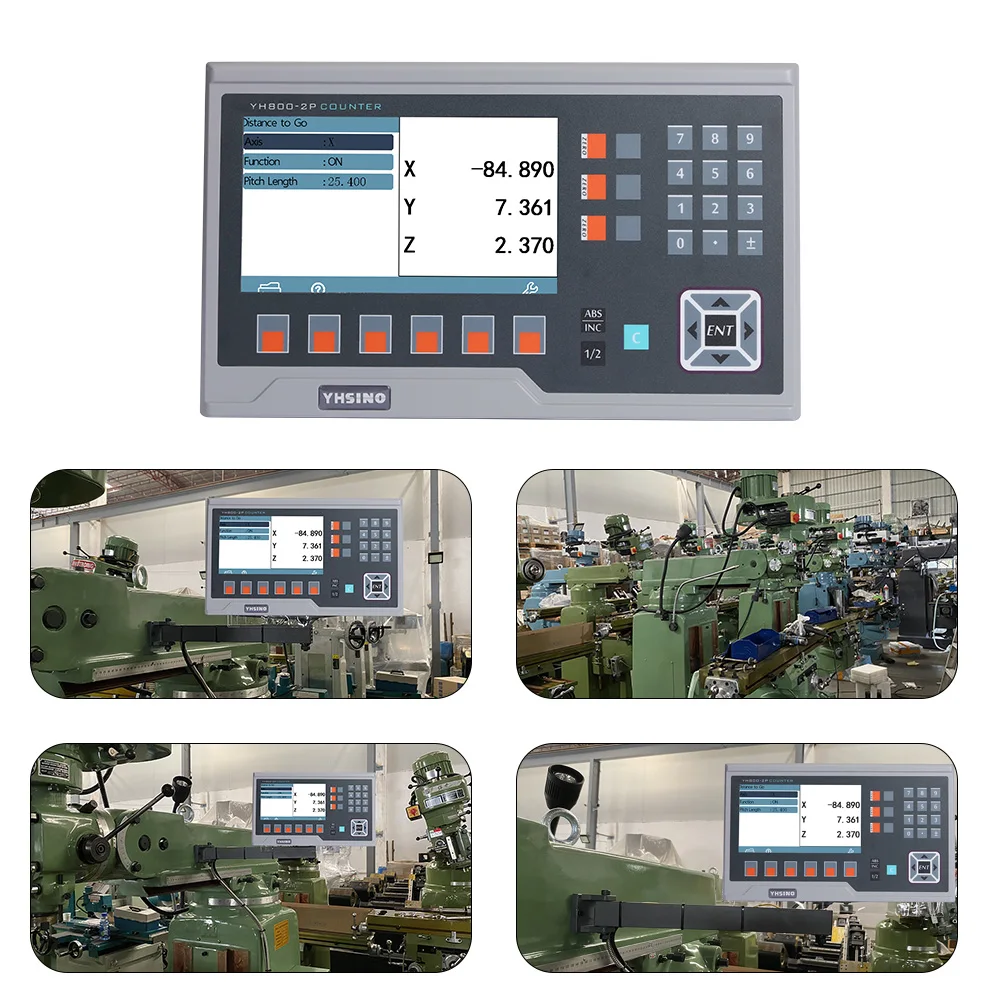
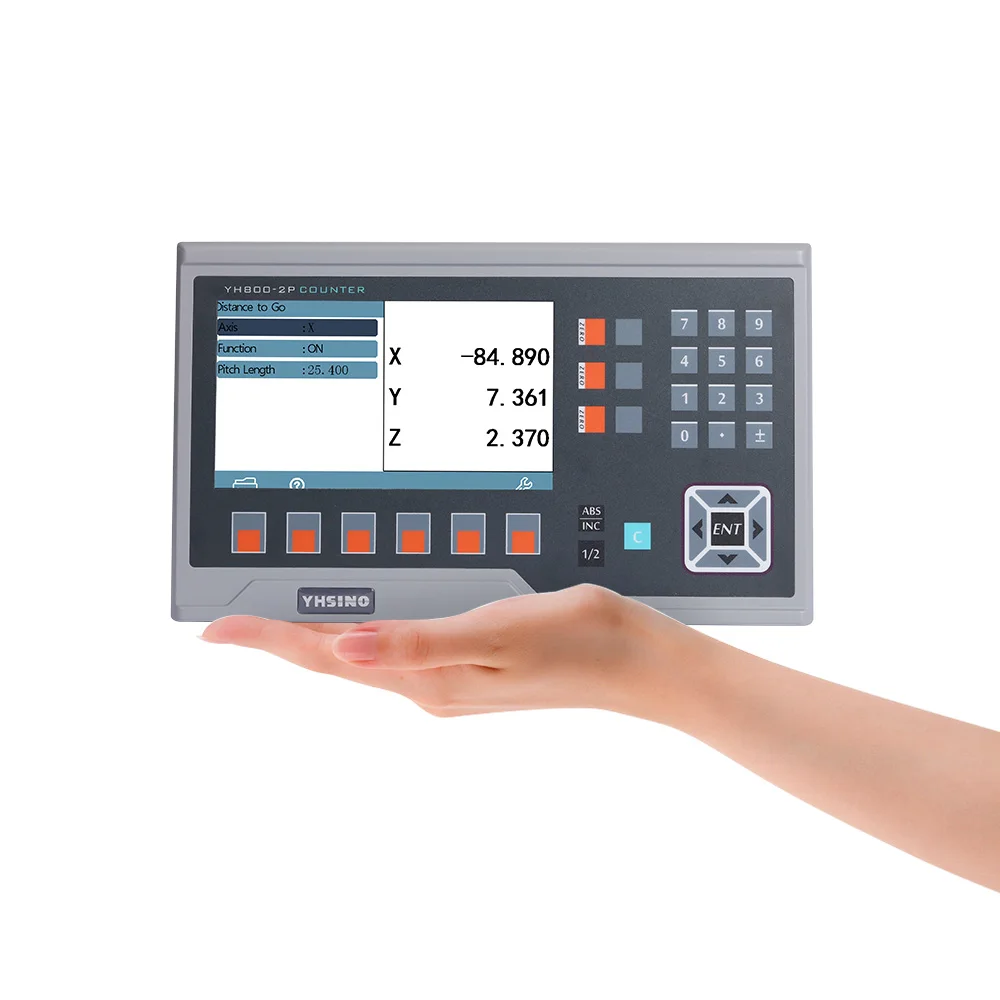
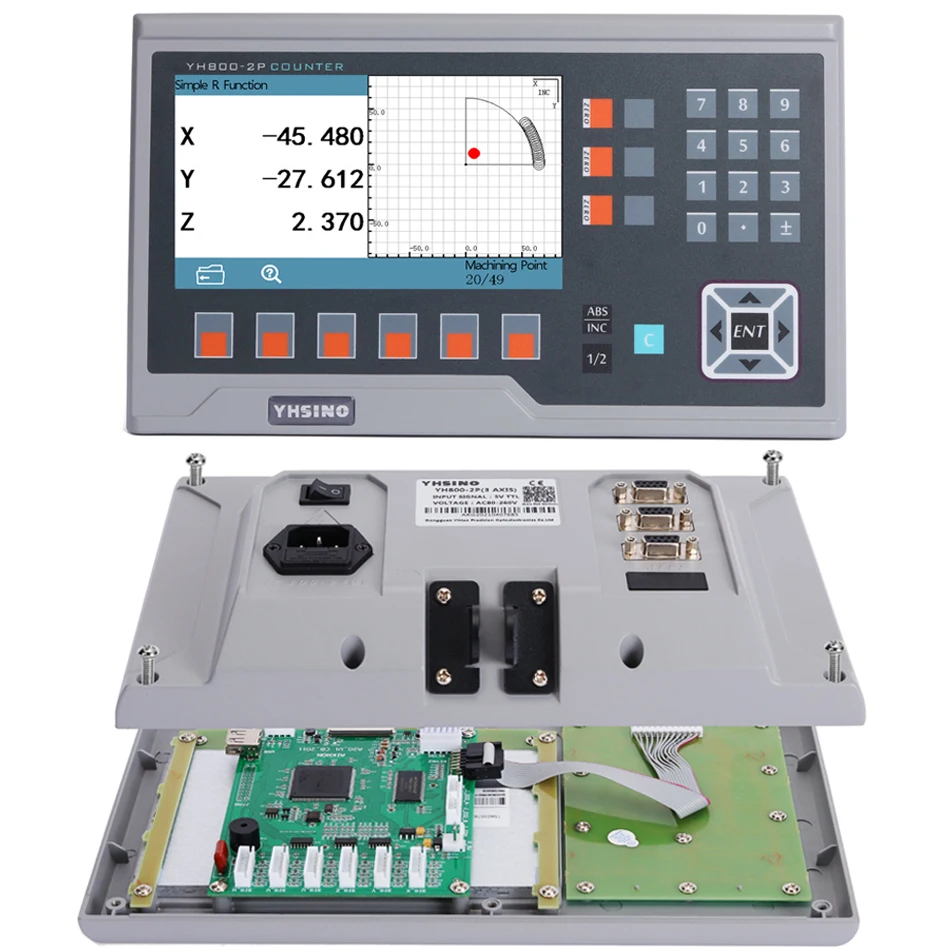
1.Adopting 7 inch true color LCD screen. All basic and function settings will be fully displayed. Meanwhile there are dynamic graphics for machining.
2.Equipped with the latest ARM architecture 32-bite chips,128M running memory. Strong ability of anti-interference and superb fast calculation speed. With ABS+PC synthetic hard material, both economy and ability are guaranteed.
3.Intuitive menu for basic and function parameter setting, no composite keys. Meanwhile there are built-in manual. Operator could refer when there are any doubts during the machining.
4.System language support Simplified Chinese, Traditional Chinese, English, German, Italian, Portuguese, Polish, Romanian, Hungarian, Greek, Russian, Ukrainian, Thai…etc.
5.All the electronical components are from the top brand, ensuring the stability and long service life.
6.Patent oscilloscope function, this brings the convenience for the maintaining.
7.Real-time federate displaying, ensure the convenience of machining and the target finish of the work-piece.
8.Supplied with the native-speaker edited colorful English manual. Real readable.
3D Touch Probe RPM 14 Languages LCD DRO YH800-2P YH800-3P YH800-4P Set Function:
Zeroing, Data Recovery, Preset value, Metric and Imperial switch, Power-off memory, Encoder selection, Linear Compensation, Non-linear compensation, Counting Direction Setting, ABS/INC Coordinate,200 setsof SDM Coordinates, REF, Centering, PLD, PCD, Smooth R, Simple R, Radius and Diameter Conversion, Axis Summing,Taper Measuring,16 Sets of Tool Offset, Dynamic Displaying, FeedRate, Rotation Speed Measuring, Linear Measuring Basing Rotary Encoder, Distance to Go, Oscilloscope Function
Technical Parameter:
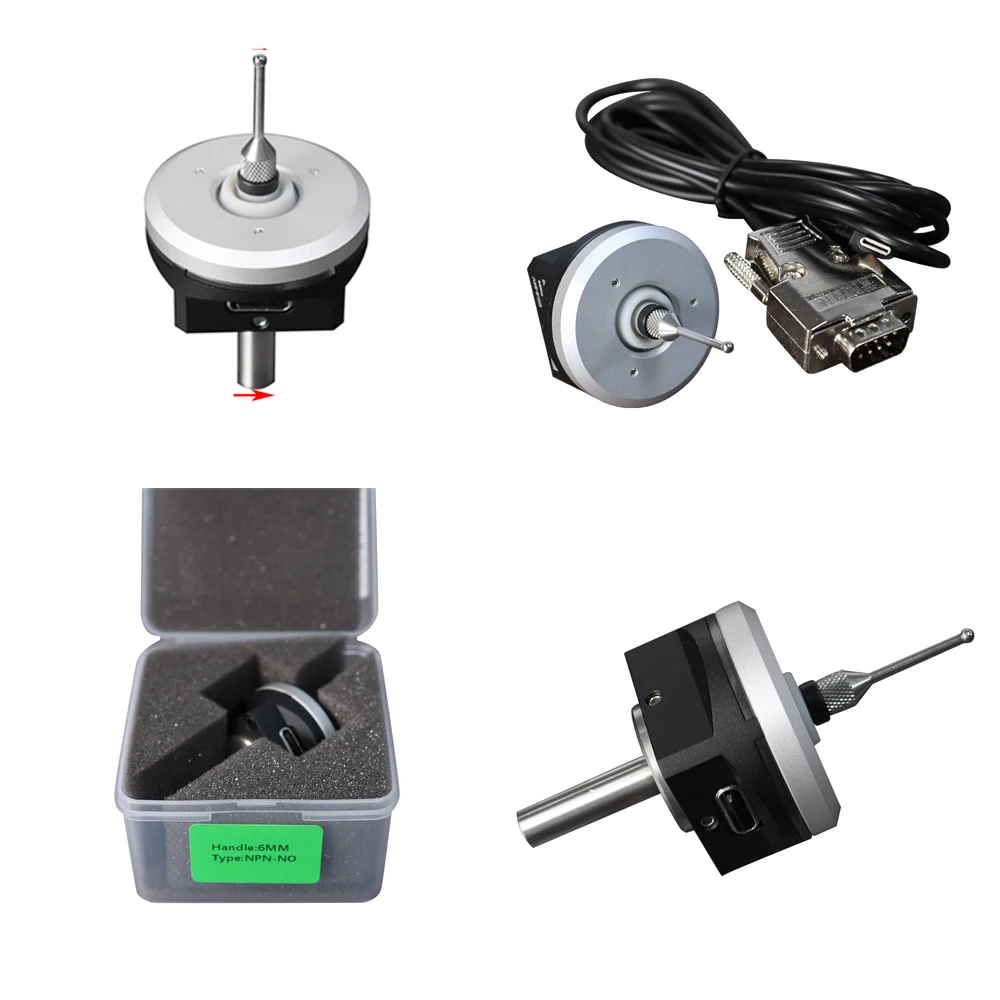
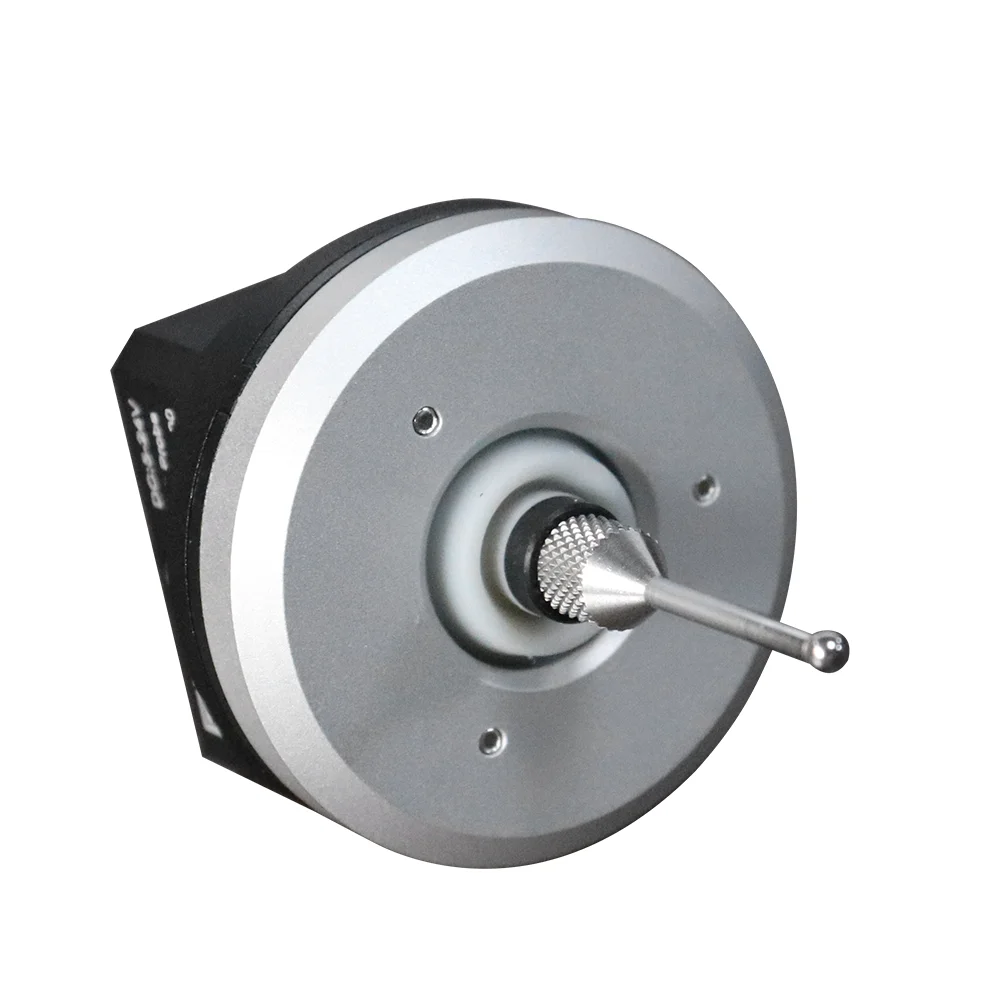
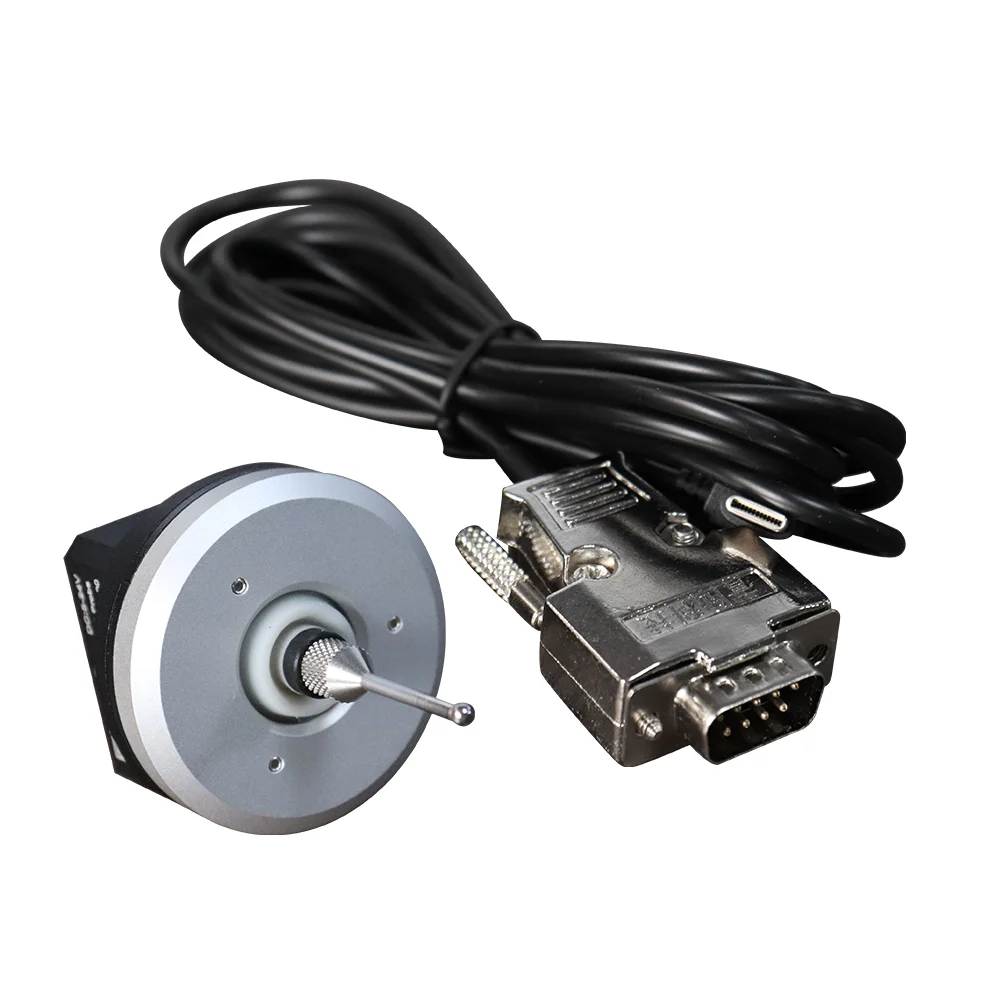
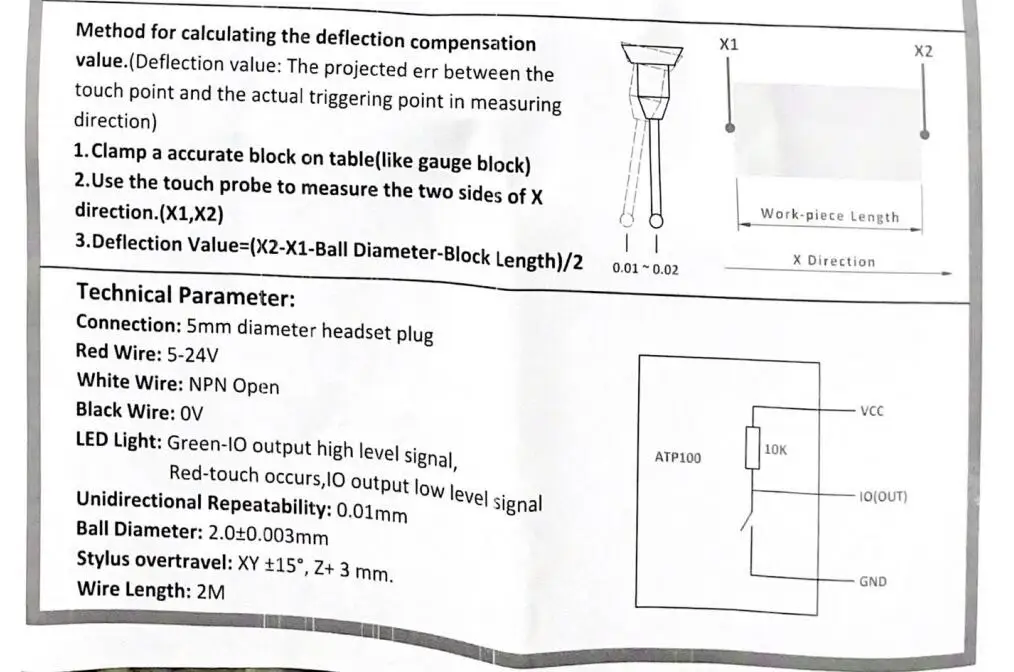
Connection: 5mm diameter headset plug
Red Wire:5-24V
White Wire:NPN Open
Black Wire: 0V
LED Light: Green-IO output high level signal,
Red-touch occurs,lO output low level signal
Unidirectional Repeatability: 0.01mm
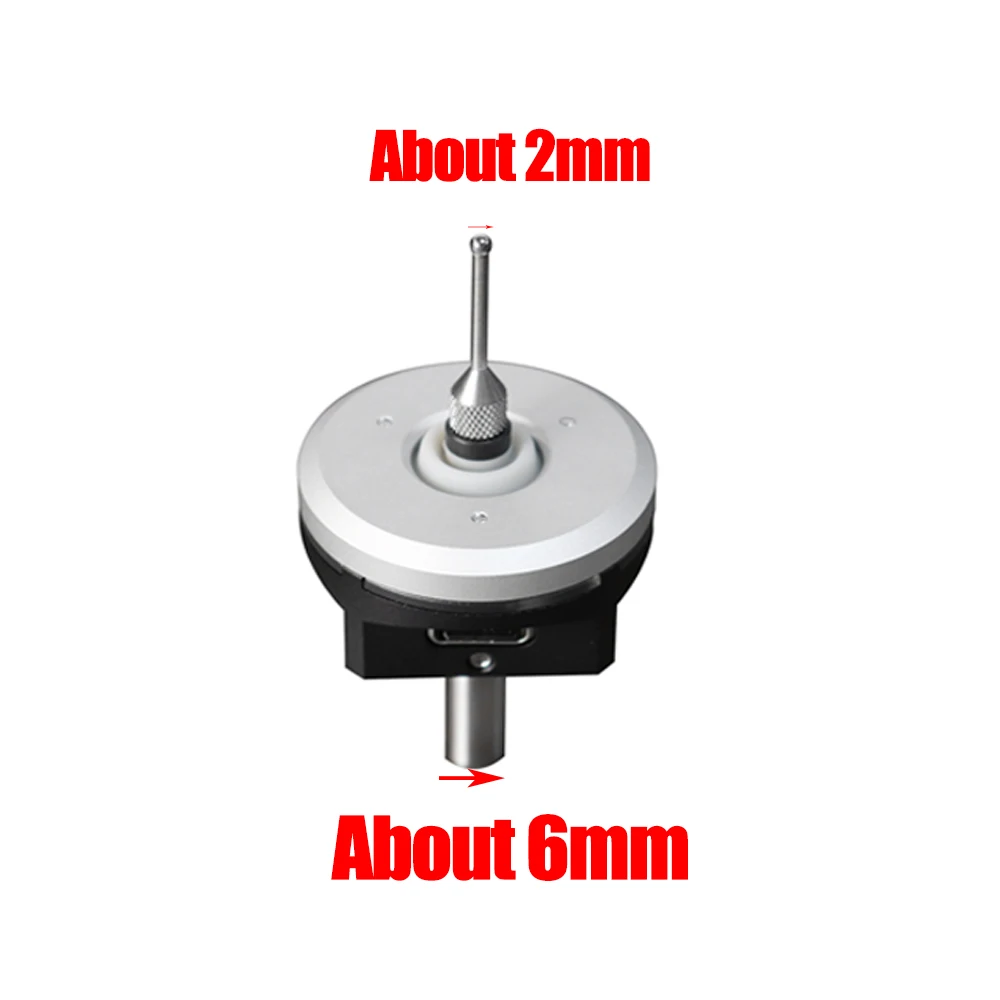
Ball Diameter:2.0+0.003mm
Stylus overtravel: XY +15, Z+ 3 mm.
Wire Length:2M
Installation:
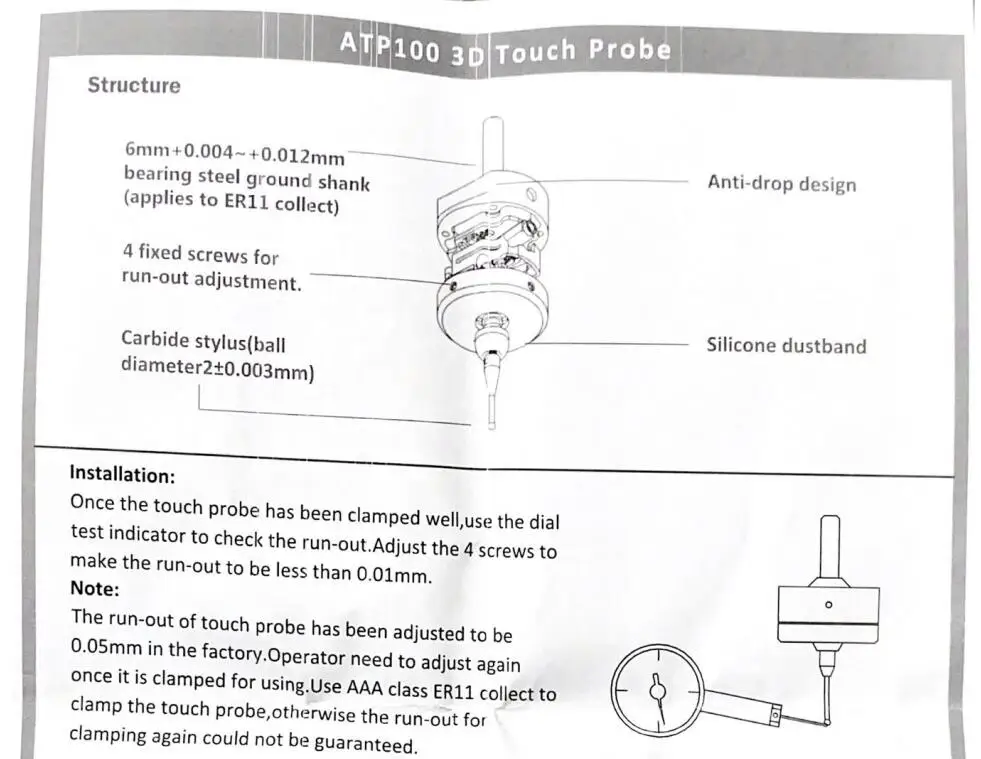
Once the touch probe has been clamped well,use the dial
test indicator to check the run-out.Adjust the 4 screws to
make the run-out to be less than 0.01mm.
Note:
The run-out of touch probe has been adjusted to be 0.05mm in the factory. Operator need to adjust againonce it is clamped for using.Use AAA class ER11 collect toclamp the touch probe,otherwise the run-out forclamping again could not be guaranteed.
Method for calculating the deflection compensationvalue.(Deflection value: The projected err between thetouch point and the actual triggering point in measuring direction)
1.Clamp a accurate block on table(like gauge block)
2.Use the touch probe to measure the two sides of X direction.(X1,X2)
3.Deflection Value=(X2-X1-Ball Diameter-Block Length)/2
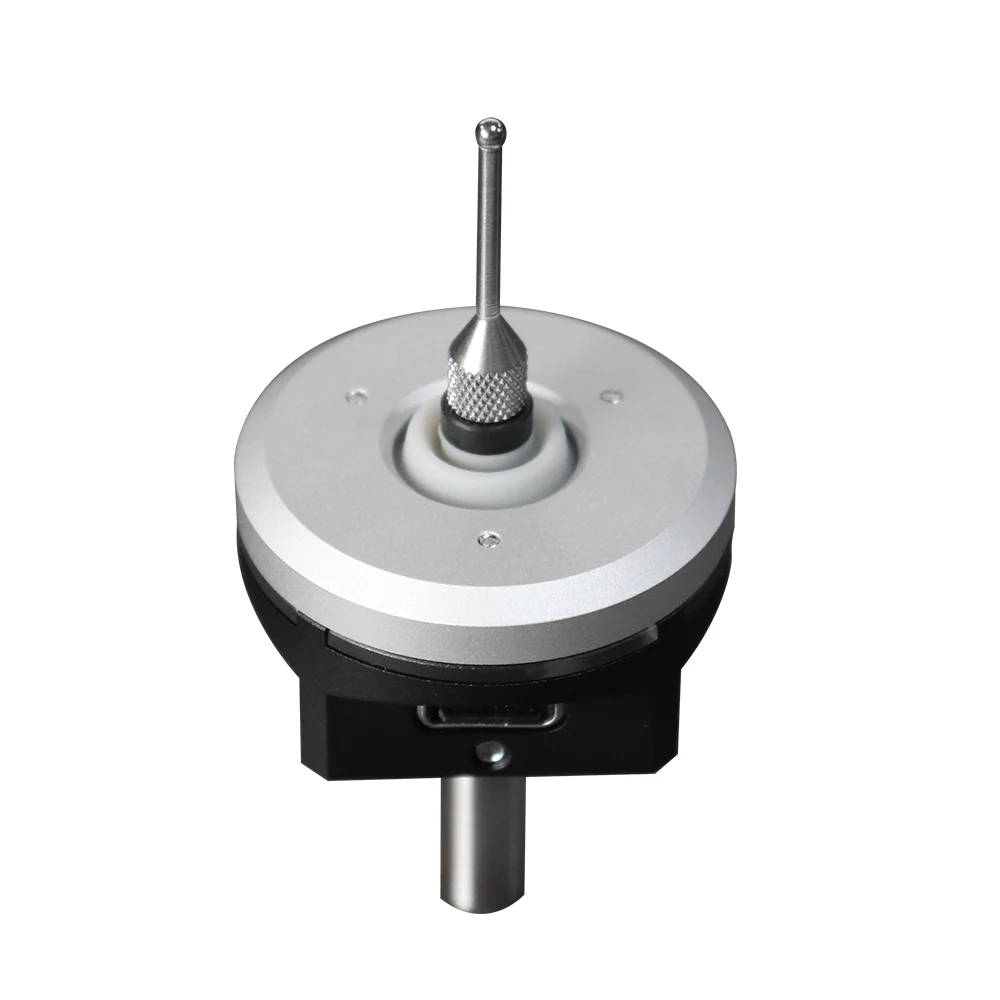
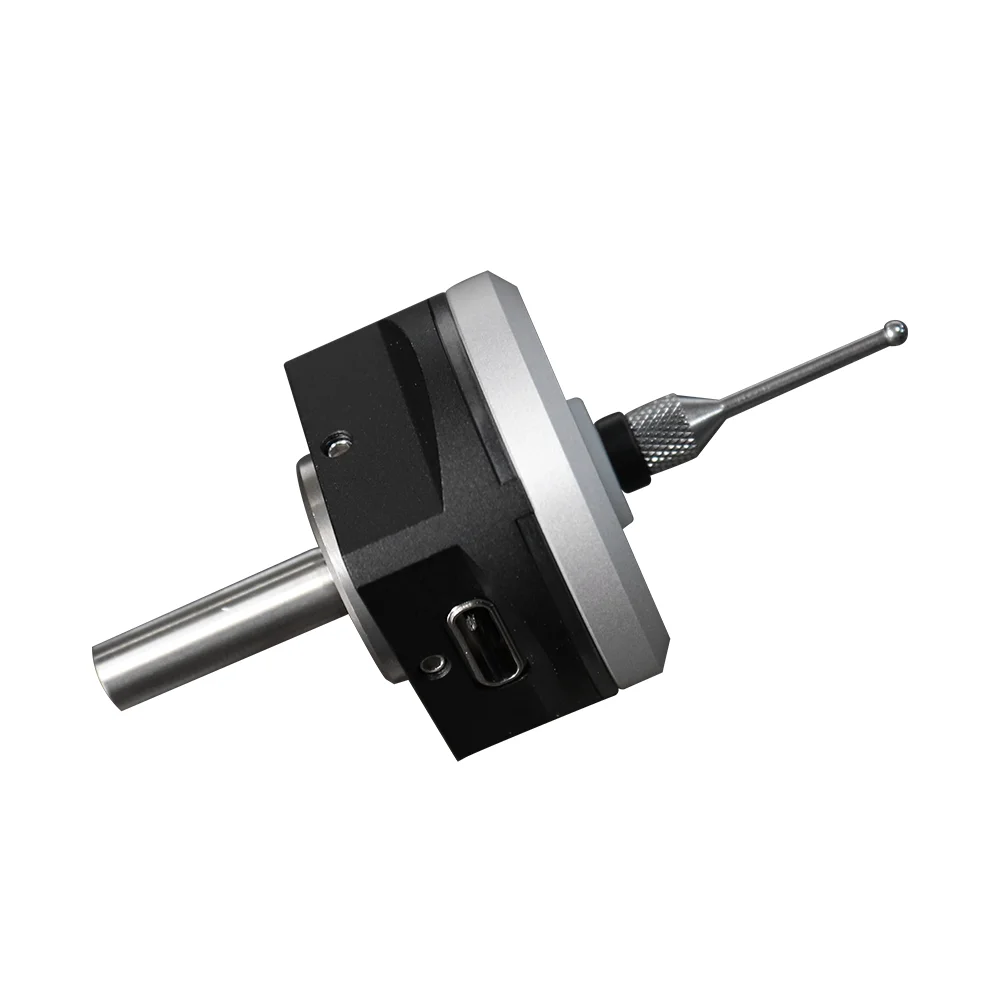
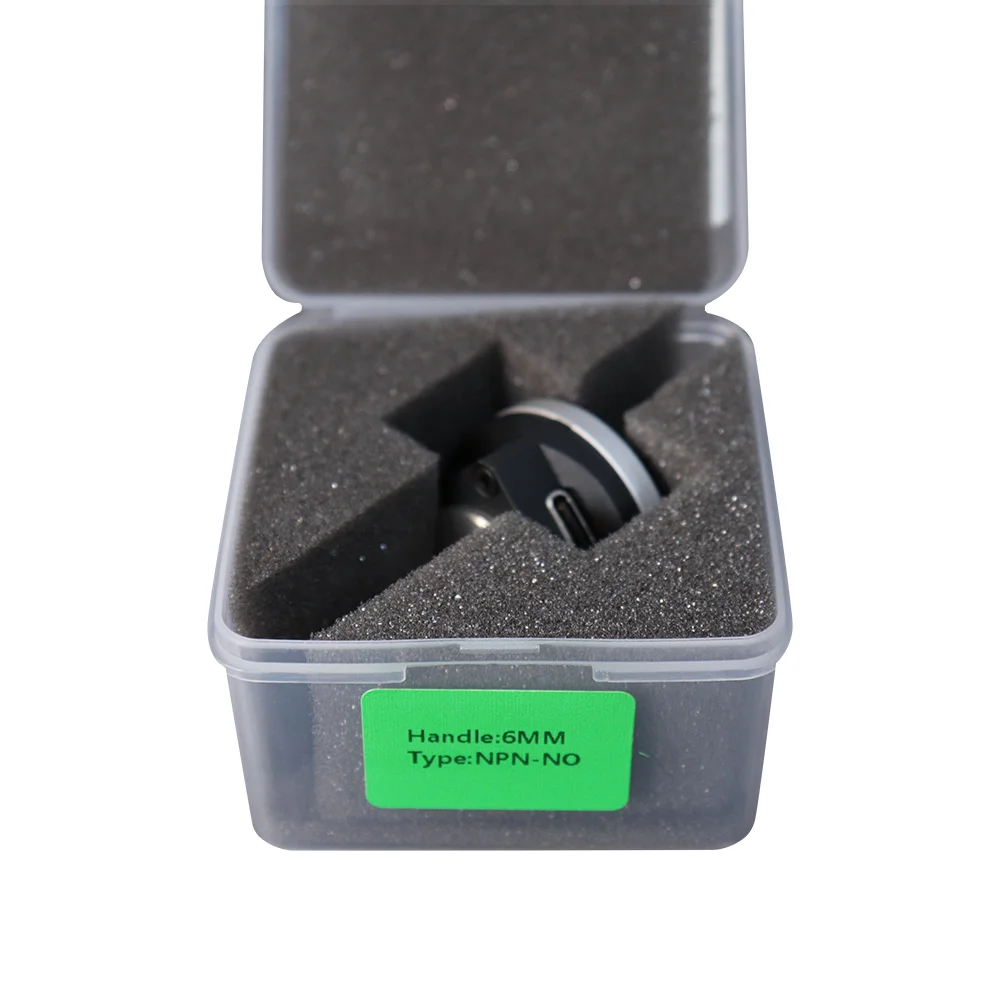
6mm+0.004~+0.012mmbearing steel ground shank(applies to ER11 collect)
Anti-drop design
4 fixed screws for run-out adjustment.
Carbide stylus(balldiameter2+0.003mm)
Silicone dustband
Tips:
1.Do not turn on the spindle speed when test.
2.Use AAA or higher accuracy (concentricity <0.005) ER collet spring clip for your chuck to ensure the test accuracy.
3.Keep it away from wet environment for longer service life
4.Keep the probe moving within 50mm/min (feed rate) to get the high accuracy value.
